

Getting Started with Supabase: A Comprehensive Guide for Developers
Step-to-step process to set up a basic yet fully functional backend


What is Supabase and how does it work?
Supabase is a popular open-source platform that allows developers to create backend APIs quickly and easily. With Supabase, you can set up a fully-functional backend for your web application in minutes, complete with authentication, database management, and more. In this comprehensive guide, we’ll walk you through everything you need to know to get started with Supabase.
Create a Supabase Account
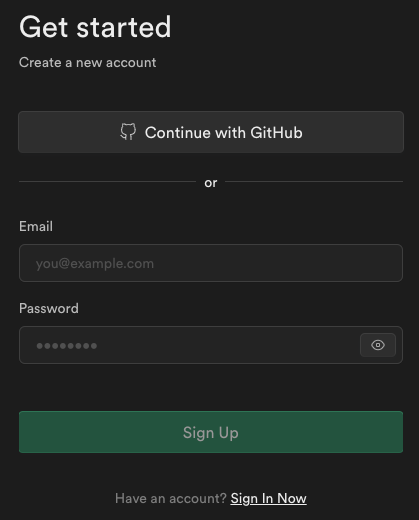
To get started with Supabase, you’ll first need to create an account. Head to the Supabase website and click on the Start your project” button. This will take you to the sign-up page, where you can authenticate using your GitHub account or you can opt-in for a classic user/password flow.
Create a Project
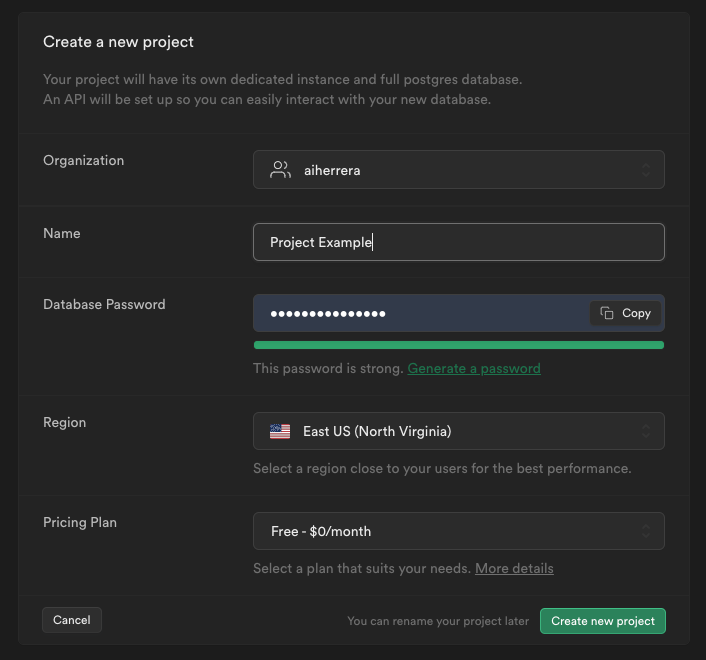
After creating an account, you’ll need to create a project. A project in Supabase is a logical container for your database, API, and other resources. To create a project, navigate to the Supabase dashboard and click on the “New Project” button. Choose a name for your project and click on the “Create Project” button.
Set Up Your Database
Once you’ve created your account, you can set up your database. Supabase uses PostgreSQL, which is a powerful and flexible database management system. On the left of your Dashboard, you’ll see there are all the options you it lets you add to your database (Tables, Functions, Roles, etc) just as a regular PostgreSQL database.
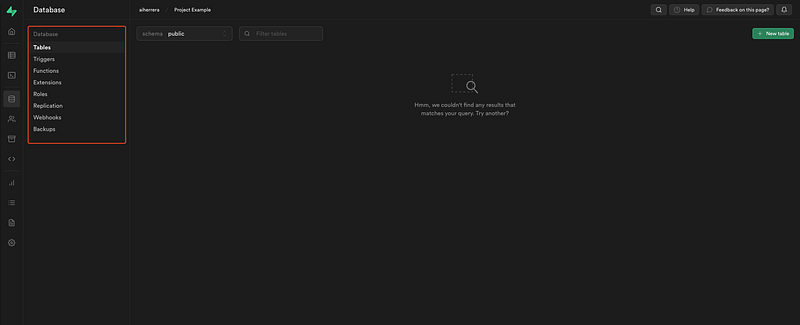
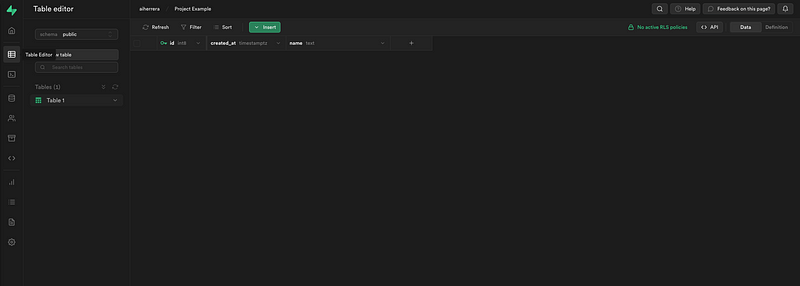
To create a table, click on the New table button on the left of the dashboard. Then give your table a name and add columns a required by your project business rules. Row Level Security (RLS) is enabled by default (we’ll cover this in another post) and it’s recommended that you let it checked by default. Then click save and voila! you have a new table in your database.

After the table is created you’ll see that there is another tab in the sidebar called Table Editor, if you click there it would let you to add, edit and delete new records.
Using buckets
Buckets in Supabase are a way to store and manage files such as images, videos, and other types of binary data. Essentially, a bucket is a container that holds your files in the cloud. Supabase provides a simple and easy-to-use interface for managing buckets, making it easy to upload, download, and delete files as needed.
Supabase Buckets use the S3-compatible API, which means that you can use any S3-compatible client library to interact with your buckets. This makes it easy to integrate them into your existing workflows and tools.
Some use cases for these buckets might include storing user-generated content like profile pictures or videos, hosting static files for your web application, or providing a way to easily share files between users.
They also provide some useful features like fine-grained access control, so you can control who has access to your files and what they can do with them. You can also set up lifecycle rules to automatically delete or archive files after a certain period.
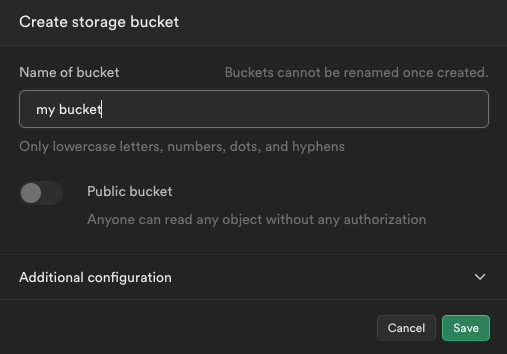
To create a bucket you just have to click on the Storage tab in the dashboard sidebar and then click on the New bucket button; then set a name for it and click on Save.
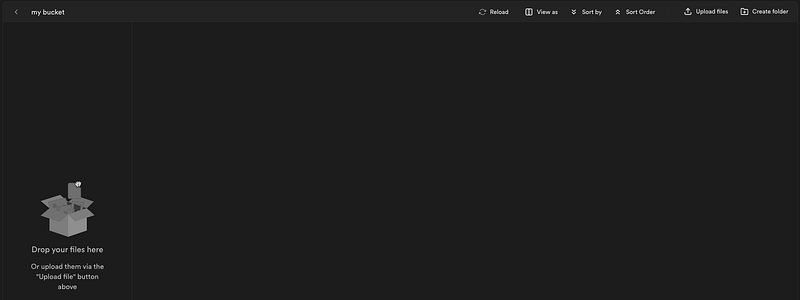
You’ll have now options to create folders and upload files to your brand new created bucket. This way you can organize your assets in the best way it fits your interests.
Set up authentication
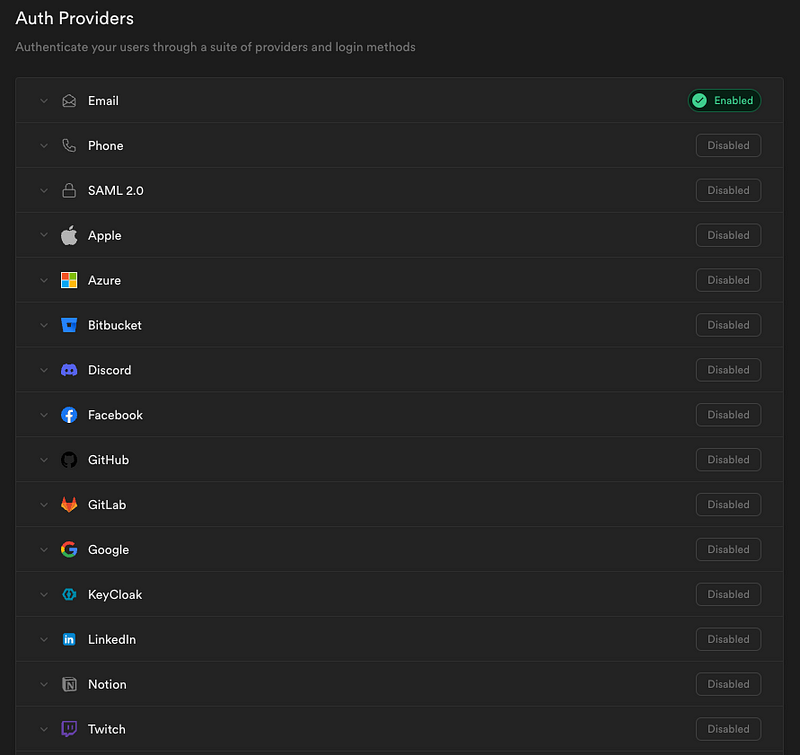
Authentication is a critical component of any web application. With Supabase, you can easily set up authentication for your API using a variety of providers, including Google, GitHub, and more. To set up authentication, navigate to the “Authentication” tab in the Supabase dashboard and choose a provider. Follow the on-screen instructions to set up authentication for your API.
Let’s say, for example, you want to integrate the Google Authentication flow for your backend. You should go to your Google developer account, create a project and get the Client ID and Client Secret for that project and paste it here.
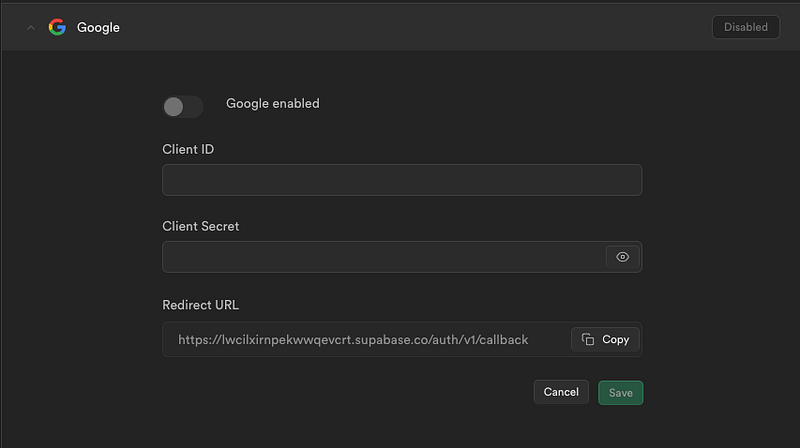
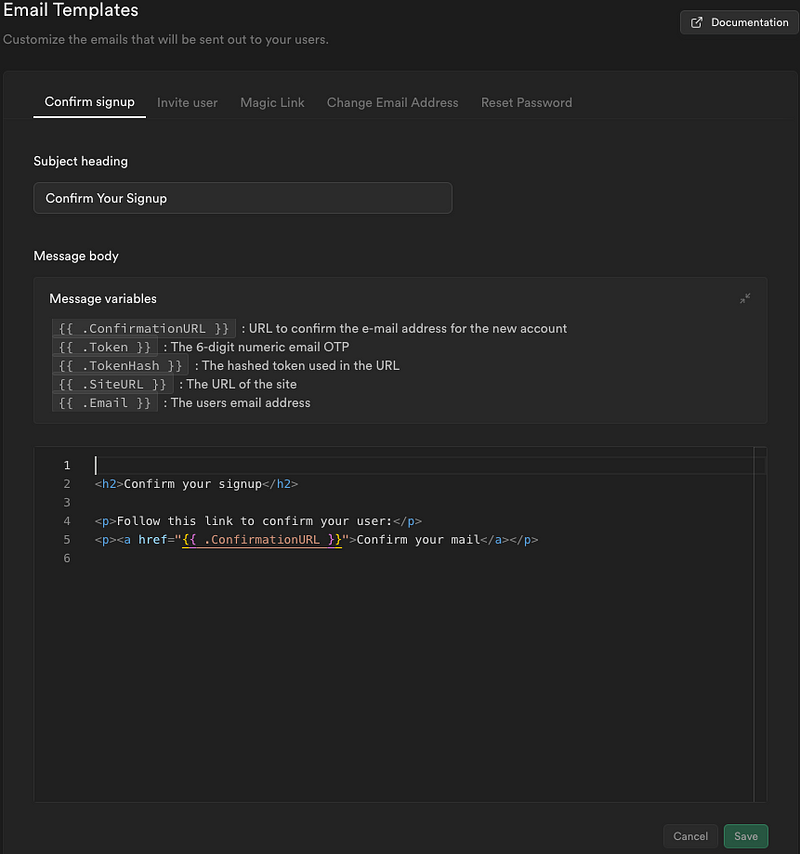
Also, you’ll able to customize the emails that will be sent out to your users.
Start building your app
With your database, API, and authentication set up, you can now start building your web application. Supabase provides a variety of tools and libraries to make it easy to interact with your API and database. You can also use Supabase with popular front-end technologies like React, Vue, and Angular.
Conclusion
That’s it! I hope this article helps you give your first steps into this solid backend-as-a-service solution for your future projects.
Wrapping up!
Supabase is a powerful and flexible platform that makes it easy for developers to create backend APIs quickly and easily. With a few simple steps, you can set up your database, API, and authentication, and start building your web application in minutes. Whether you’re a seasoned developer or just getting started, Supabase is worth checking out.
Bonus (for getting this far 😜)
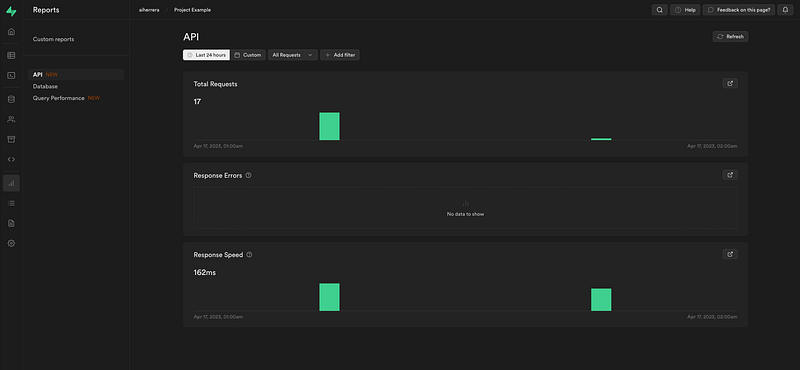
Supabase comes with some very handy tools regarding to analytics. You have a tab called Reports where you can check Total requests, response errors or response speed from your APIs, get CPU usage or the health of your database and even query performance of your queries!
In the tab Logs there you’ll have access to all the logs of every single tool inside your app.

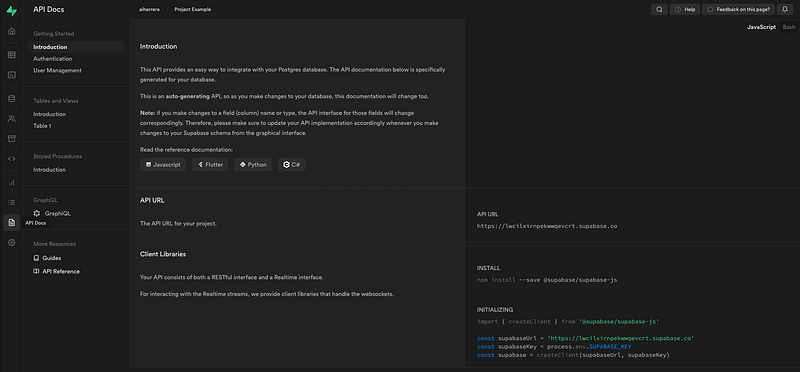
And last but not least, you’ll get plenty of documentation with examples in the most commonly used languages of how to use the Supabase client library, a topic that we’ll be covering in another article, so stay tuned!
This article was originally published in Medium.